FlaskでGoogle OAuthを実装する方法を詳しく解説!
2024年7月16日

こんにちは!
今回の記事では、FlaskでGoogle OAuthを実装する方法について解説したいと思います。
OAuthとは、「Open Authorization」の略で、サードパーティのアプリケーションがユーザーの代わりにウェブサービスにアクセスするです。
つまり、Googleのアカウントを使って、アプリケーションにログインできるようになるための実装です。Pythonのコードを含めて詳しく解説します。
FlaskでGoogle OAuthを実装する方法
Google OAuthを実装する方法は、以下の手順で進めます。
- Authlibのインストール
- Google API ConsoleでOAuth 2.0クライアントIDを作成
- ユーザーモデルの修正
- Flaskアプリの設定
- Googleログインルートの追加
- HTMLの修正
1.Authlibのインストール
まず、パッケージのAuthlibのインストールを行います。Google Oauthを実現するためのパッケージはいくつかありますが、AuthlibはGoogleに限らず、GithubなどのOauthも簡単に実装することが可能です。
以下のコマンドを実行して、インストールします。
pip install authlibAuthlibについてのドキュメントはこちらです。詳細を知りたい方はご覧ください。
https://docs.authlib.org/en/latest
2.Google API ConsoleでOAuth 2.0クライアントIDを作成
次にGoogle API ConsoleでOAuth2.0のクライアントIDを作成します。
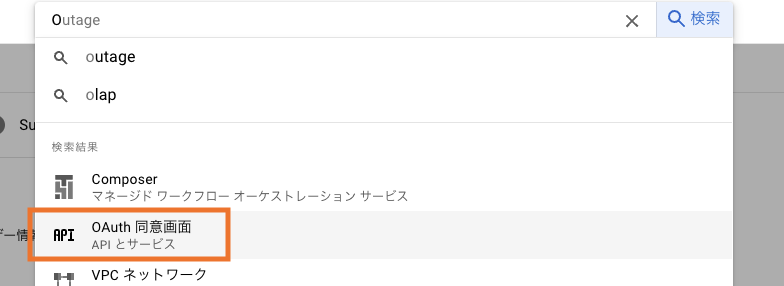
コンソール画面に移動したら、「Oauth同意画面」へ移動します。
User Typeは「External」を選択します。
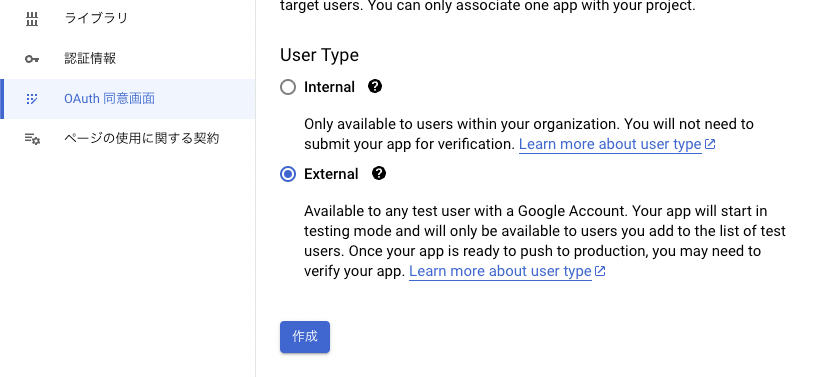
作成をクリックすると、アプリの情報を登録する画面へ移動します。ここで、アプリの情報を入力します。
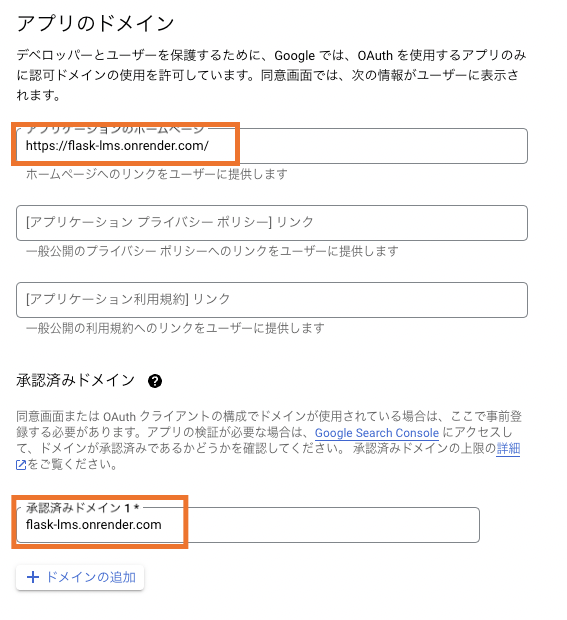
・アプリ名・サポートメール・アプリケーションのホームページ・認証済みドメイン・ディベロッパーの連絡先の項目を入力します。
アプリのURLがない(開発環境)の方は仮で入力しておきましょう。
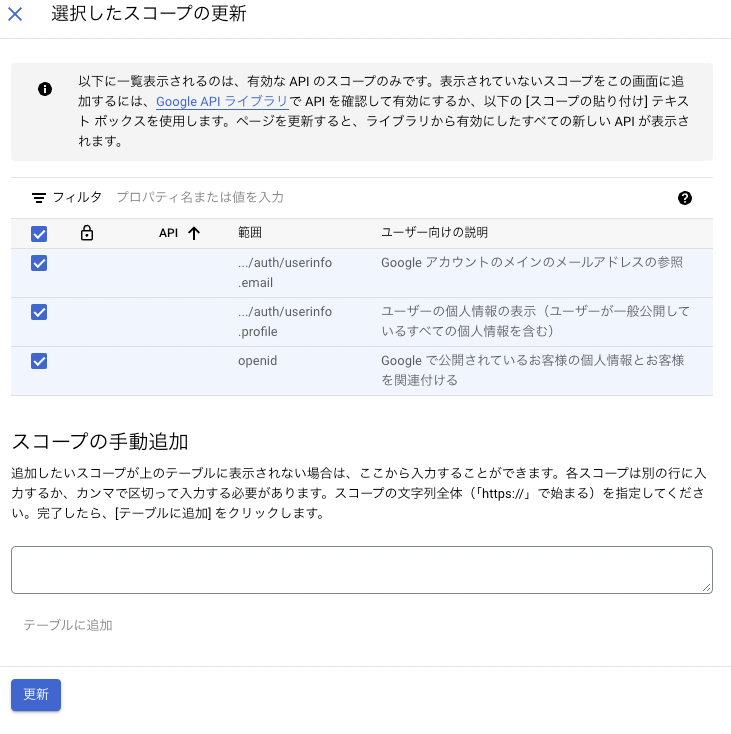
次に、「スコープを追加または削除」をクリックします。
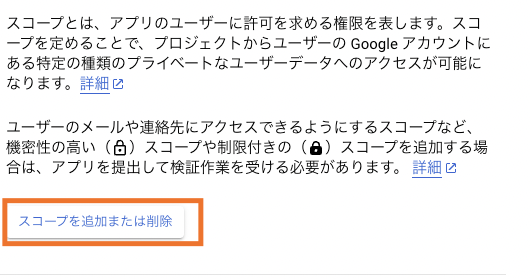
基本的には、全てにチェックをいれて更新をクリックします。
残りの設定はそのまま進めます。
次に、認証情報から「+認証情報を作成」をクリックします。
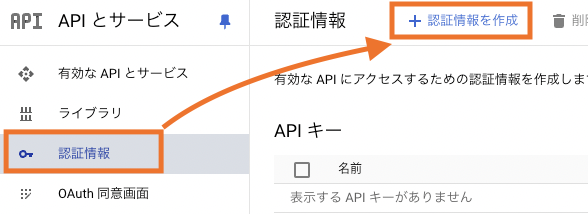
「OAuth クライアントID」をクリックします。

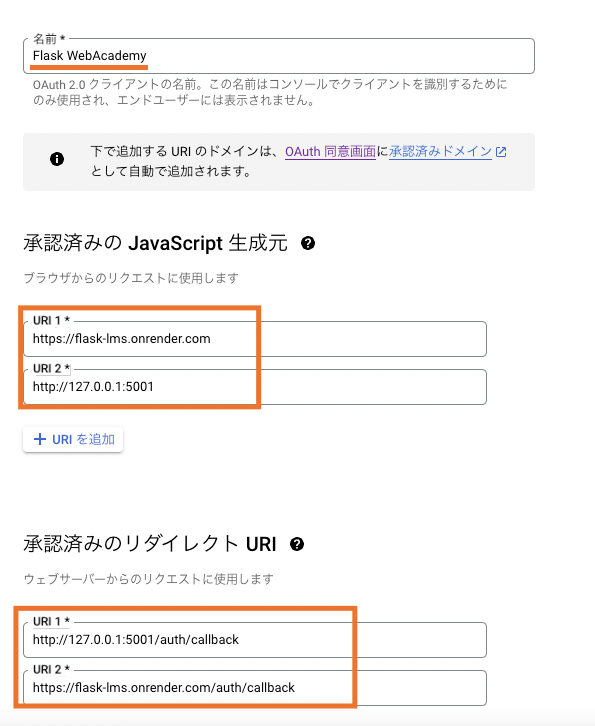
次に、Oauthの名前とURIを設定します。
承認済みのJavascript生成元には、アプリのURLを入力します。以下の例では、本番環境のURLと開発環境のURLを2つ指定しています。
リダイレクトURIには、URLの後ろに/auth/callbackをつけます。
これで完了です。
保存をクリックすると、クライアントIDとクライアントシークレットが表示されるのでメモしておきましょう。
3.ユーザーモデルの作成
続いて、ユーザーモデルを作成します。ユーザーモデルはapp.pyかmodels.pyに記述します。
class User(db.Model, UserMixin):
    id = db.Column(db.Integer, primary_key=True)
    username = db.Column(db.String(150), unique=True, nullable=False)
    email = db.Column(db.String(150), unique=True, nullable=False)
    password_hash = db.Column(db.String(255), nullable=False)

    @property
    def password(self):
        raise AttributeError('password is not a readable attribute')

    @password.setter
    def password(self, password):
        self.password_hash = generate_password_hash(password)

    def verify_password(self, password):
        return check_password_hash(self.password_hash, password)
ユーザーモデルについては、ログイン実装時のモデルを参考にしてください。詳しくは、以下の記事で解説しています。
【関連】Flaskでログイン機能を実装する方法を解説【会員登録、ログイン、ログアウト機能】
Flaskアプリの設定
続いて、Flaskアプリの設定を行います。app.pyなどに記述しましょう。
from authlib.integrations.flask_client import OAuth
from authlib.integrations.base_client.errors import OAuthError

app.config['GOOGLE_CLIENT_ID'] = [クライアントID]
app.config['GOOGLE_CLIENT_SECRET'] = [クライアントシークレット]

oauth = OAuth(app)
google = oauth.register(
    name='google',
    client_id=app.config['GOOGLE_CLIENT_ID'],
    client_secret=app.config['GOOGLE_CLIENT_SECRET'],
    client_kwargs={'scope': 'openid profile email'},
    server_metadata_url='https://accounts.google.com/.well-known/openid-configuration'
)
ここでは、クライアントIDとクライアントシークレットをapp.py上に記述していますが、環境変数(.envファイル)などに記述しても良いでしょう。環境変数の設定方法については、以下の記事で解説しています。
ログインルートの追加
続いて、ログインルートの追加を行います。ログインページとGoogleのログイン画面が表示されるようにします。
@app.route('/login', methods=['GET', 'POST'])
def login():
    form = LoginForm()
    if form.validate_on_submit():
        user = User.query.filter_by(email=form.email.data).first()
        if user and user.verify_password(form.password.data):
            login_user(user)
            return redirect(url_for('dashboard'))
        else:
            flash(_('Login Unsuccessful. Please check email and password'), 'danger')
    return render_template('login.html', form=form)

@app.route('/login/google')
def google_login():
    redirect_uri = url_for('google_auth_callback', _external=True)
    return google.authorize_redirect(redirect_uri, prompt='select_account')

@app.route('/auth/callback')
def google_auth_callback():
    try:
        token = google.authorize_access_token()
        resp = google.get('https://www.googleapis.com/oauth2/v1/userinfo', token=token)
        user_info = resp.json()
        email = user_info['email']

        user = User.query.filter_by(email=email).first()
        if user is None:
            user = User(
                email=email,
                username=user_info['name'],
                password_hash=generate_password_hash('default_password')
            )
            db.session.add(user)
            db.session.commit()

        login_user(user)
        return redirect(url_for('dashboard'))
    except OAuthError as error:
        flash(f'Authentication failed: {error.description}', 'danger')
        return redirect(url_for('login'))
上記の例では、/loginにアクセスすると、ログインページが表示されます。ログインページには、LoginFormを表示して、ログインに必要な情報を入力させますが、今回のGoogle Oauthにおいては不要です。不必要な方はLoginForm周りを削除してください。
HTMLの修正
最後にHTMLの修正を行います。Google Oauthをログインページに載せたいので、ログインページのHTMLに以下を追加します。
<a href="{{ url_for('google_login') }}">
    Googleでログイン
 </a>
ログインページで、上記のリンクをクリックすると、google_login()関数が実行され、Googleのログインページが表示されます。
以上で設定は完了です。
まとめ
今回の記事では、FlaskでGoogle OAuthを実装する方法について解説しました。
Webアプリでは、Googleアカウントでログインできると、ユーザーはスムーズにアプリを使うことができます。アプリの使いやすさ向上のためにも、OAuthの導入を検討してみましょう。
今回の記事がWeb開発のお役に立てれば幸いです。ここまでお読みいただきありがとうございました。
Pythonの基礎から応用まで学べる
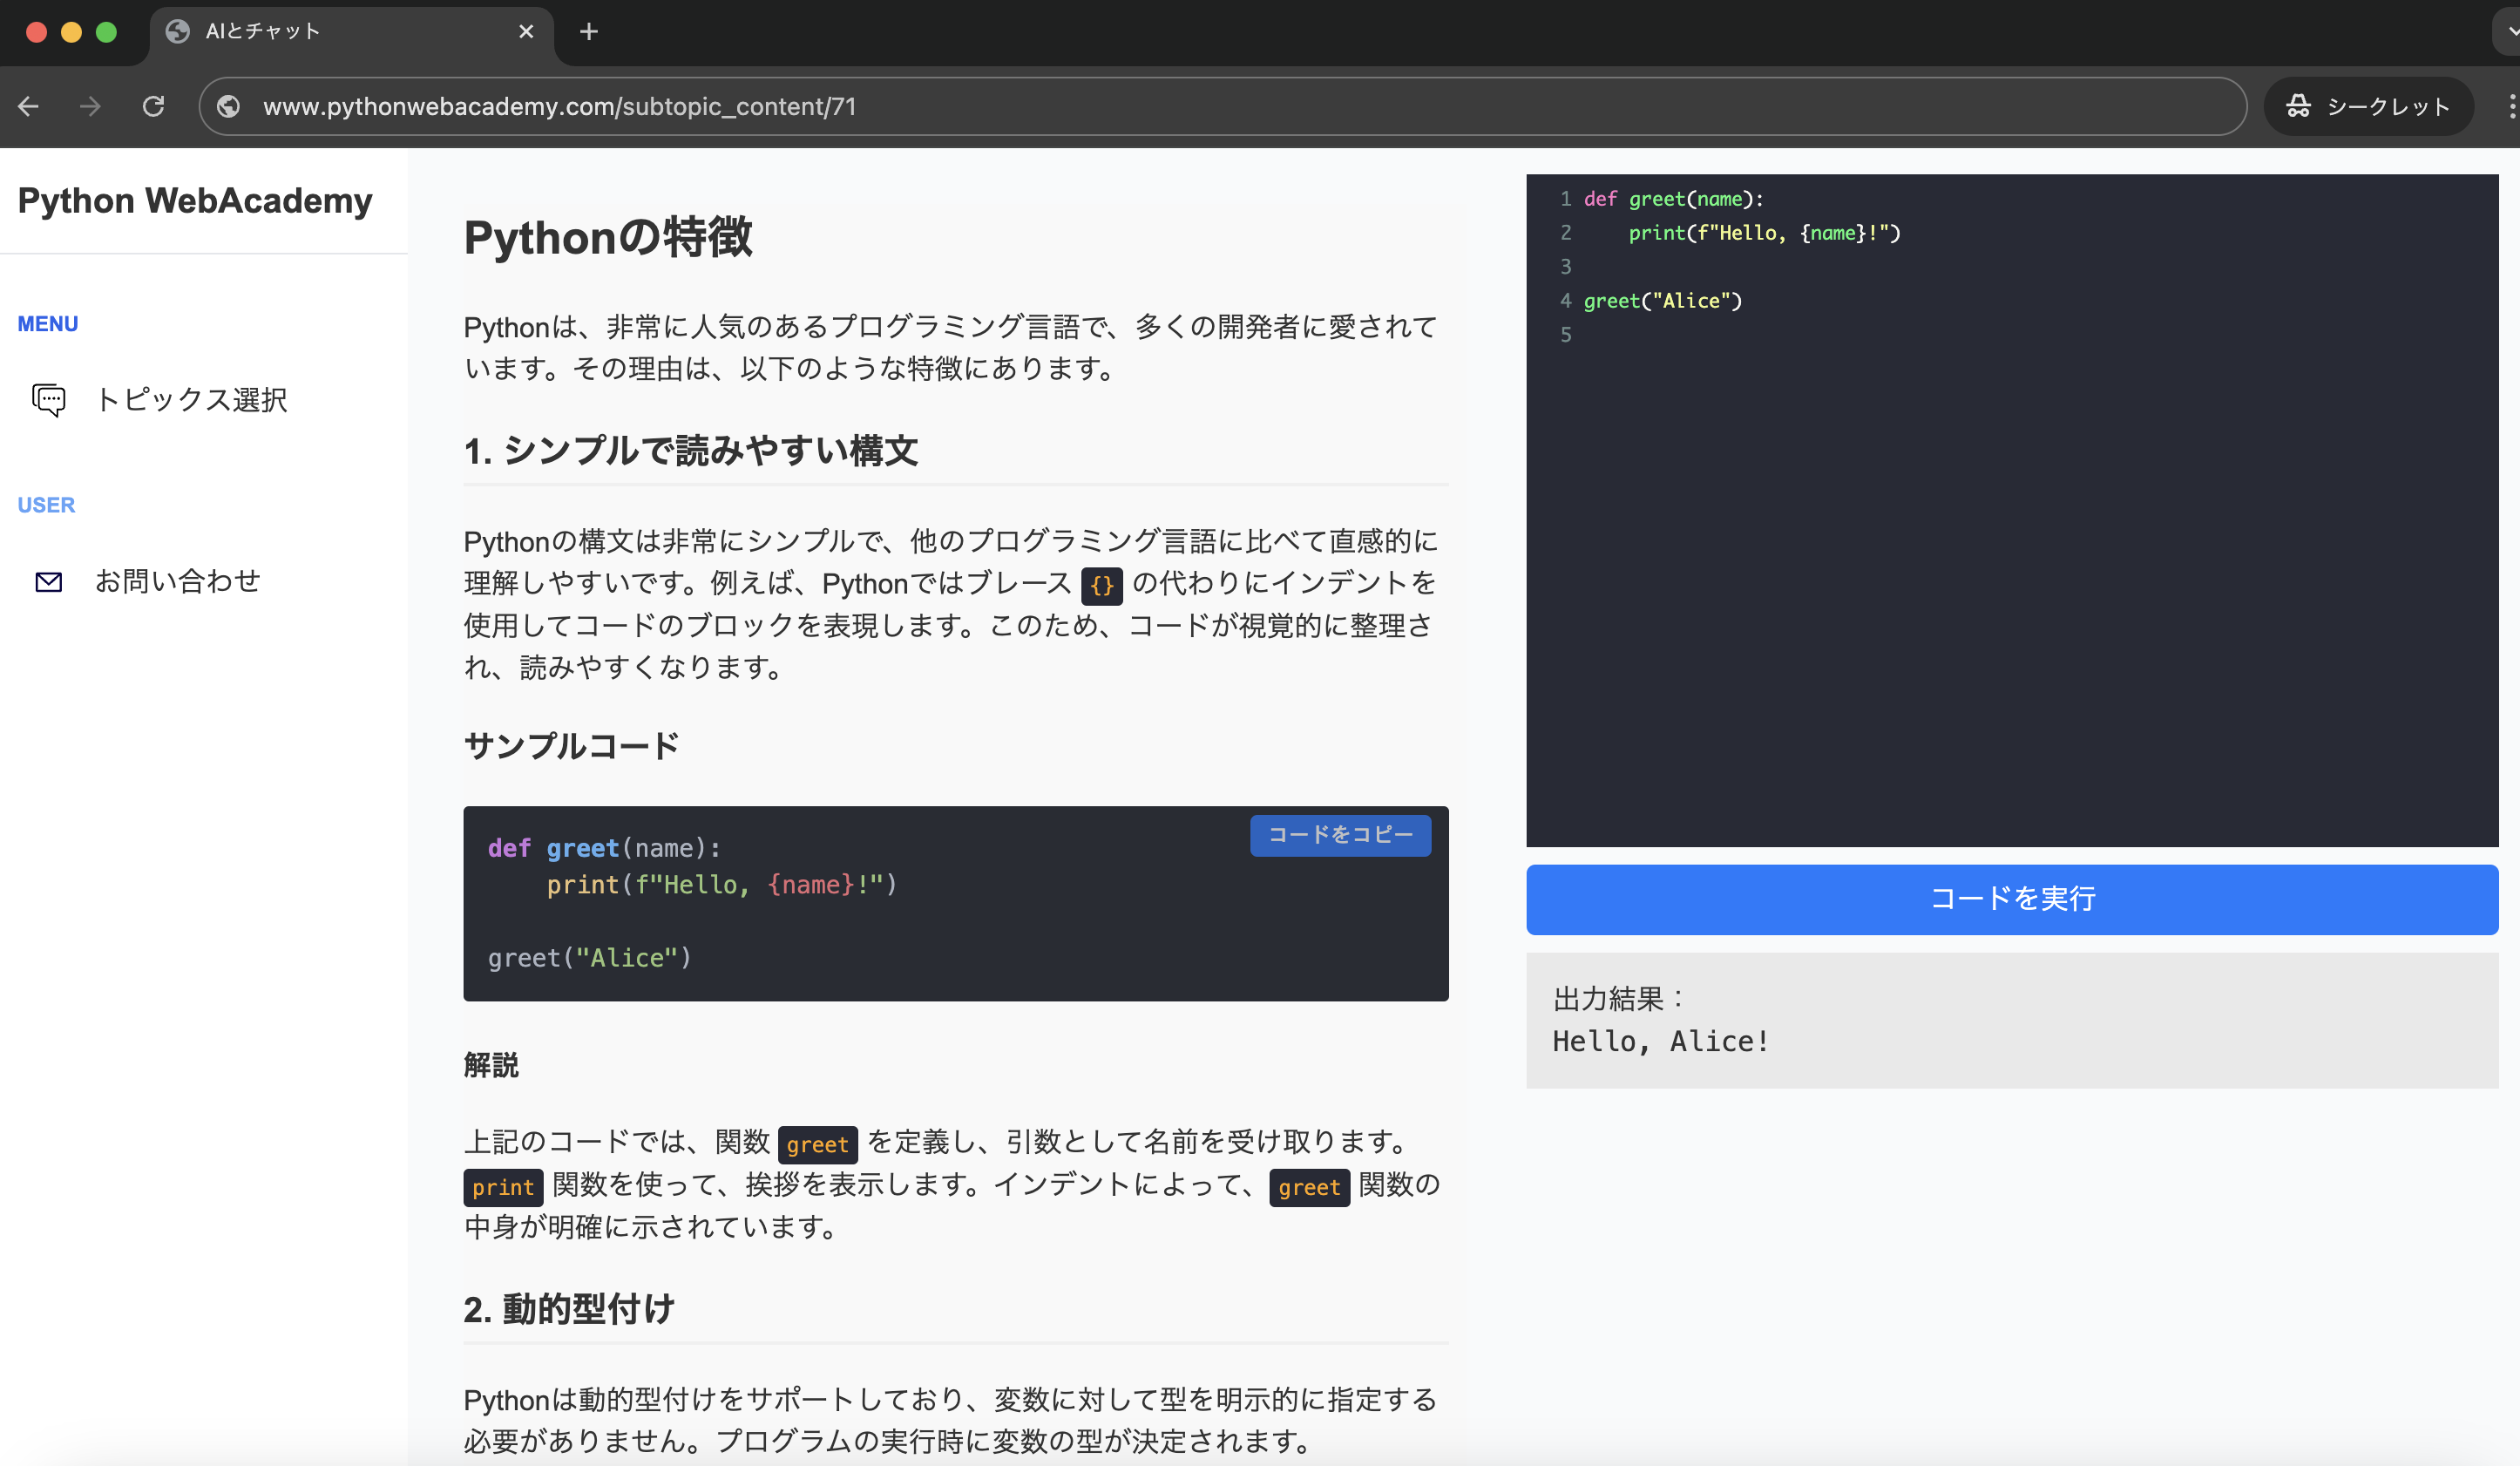
Python WebAcademy
Python WebAcademyでは、Pythonの基礎からアーキテクチャなどの応用的な内容まで幅広く学べます。また、ブラウザ上で直接Pythonコードを試すことができ、実践的なスキルを身につけることが可能です。
 Pythonの学習を始める


インフラの学習はInfraAcademy

おすすめの記事