FlaskとChatGPTを連携する方法解説!
2024年7月24日

こんにちは!
今回の記事では、FlaskとChatGPTを連携する方法について解説します。
FlaskはPythonの軽量なマイクロフレームワークであり、シンプルかつ柔軟なWebアプリケーションを構築するのに適しています。
一方、ChatGPTは自然言語処理の強力なツールであり、対話型アプリケーションを作成するために便利なツールです。
この記事では、FlaskとChatGPTを連携して、対話型Webアプリケーションを作成する方法を簡単なアプリ作成を通じて解説します。
FlaskとChatGPTを連携する方法解説
モジュールのインストール
まずは、Flaskのインストールをします。ChatGPTと接続するには、openaiのモジュールをインストールします。
pip install Flask openai==0.28app.pyの設定
次にapp.pyの設定を行います。
/にアクセスしたら、index.htmlを返すようにルーティングを指定します。
from flask import Flask, request, jsonify, render_template

app = Flask(__name__)

@app.route('/')
def home():
    return render_template('index.html')

if __name__ == '__main__':
    app.run(debug=True)
次に、ChatGPTを呼び出す関数の作成をします。
import openai
openai.api_key = 'your-openai-api-key'
@app.route('/chat', methods=['POST'])
def chat():
try:
user_message = request.json.get('message')
if not user_message:
return jsonify({'error': 'No message provided'}), 400
response = openai.ChatCompletion.create(
model="gpt-3.5-turbo",
messages=[
{"role": "system", "content": "You are a helpful assistant."},
{"role": "user", "content": user_message}
]
)
return jsonify({'response': response.choices[0].message['content'].strip()})
except openai.error.OpenAIError as oe:
return jsonify({'error': f'OpenAI API error: {str(oe)}'}), 500
except Exception as e:
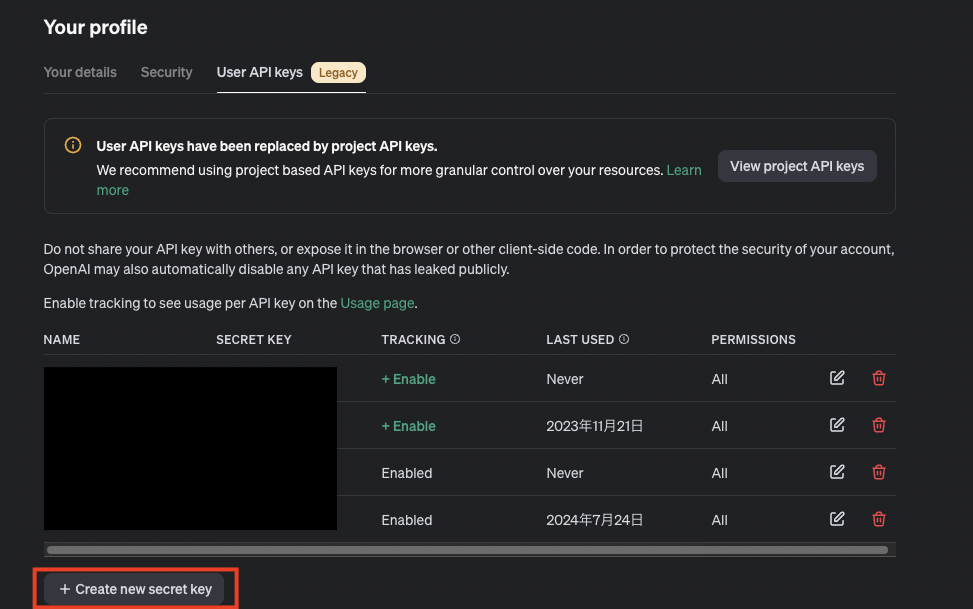
return jsonify({'error': f'Unexpected error: {str(e)}'}), 500openai.api_key = ‘your-openai-api-key’の部分では、ChatGPTのAPIキーを入力しましょう。以下のページからログインして、APIキーを作成しましょう。
https://openai.com/index/openai-api
openai.ChatCompletion.createは、OpenAIのAPIを使用してChatGPTモデルと対話を行うためのメソッドです。このメソッドを使うことで、ユーザーが送信したメッセージに対する応答を生成することができます。
このようにChatGPTの実装を行います。
テンプレートの作成
次にテンプレートの作成をします。
<!-- templates/index.html -->
<!DOCTYPE html>
<html lang="ja">
<head>
    <meta charset="UTF-8">
    <meta name="viewport" content="width=device-width, initial-scale=1.0">
    <title>ChatGPT Flask App</title>
</head>
<body>
    <h1>Welcome to ChatGPT Flask App</h1>

    <div id="chat-box">
        <div id="chat-log"></div>
        <input type="text" id="user-input" placeholder="Type your message...">
        <button onclick="sendMessage()">Send</button>
    </div>

    <script>
function sendMessage() {
    const userInput = document.getElementById('user-input').value;
    if (!userInput) return;

    const chatLog = document.getElementById('chat-log');
    const userMessage = document.createElement('div');
    userMessage.textContent = `You: ${userInput}`;
    chatLog.appendChild(userMessage);

    fetch('/chat', {
        method: 'POST',
        headers: {
            'Content-Type': 'application/json',
        },
        body: JSON.stringify({ message: userInput }),
    })
    .then(response => {
        if (!response.ok) {
            return response.json().then(error => {
                throw new Error(error.error);
            });
        }
        return response.json();
    })
    .then(data => {
        const botMessage = document.createElement('div');
        botMessage.textContent = `Bot: ${data.response}`;
        chatLog.appendChild(botMessage);
    })
    .catch(error => {
        const errorMessage = document.createElement('div');
        errorMessage.textContent = `Error: ${error.message}`;
        chatLog.appendChild(errorMessage);
    });

    document.getElementById('user-input').value = '';
}

    </script>
</body>
</html>
Flaskアプリの起動と動作確認
次にFlaskのアプリケーションを起動します。
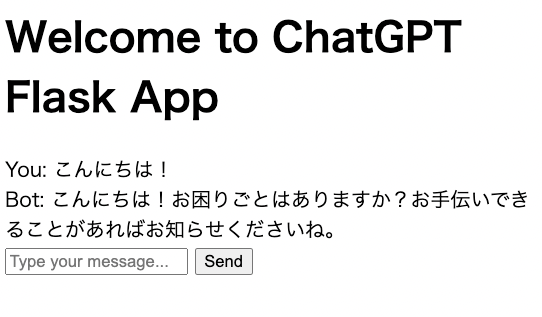
flask app.pyブラウザにアクセスして動作確認をしてみましょう。以下のようにinputボックスにメッセージを入れると、ChatGPTからの応答が返ってきます。
まとめ
今回の記事では、FlaskのセットアップからChatGPTの統合、フロントエンドの作成までの全てのステップを詳しく解説しました。
これを基に、さらなるカスタマイズや機能追加を行って、独自のWebアプリケーションを作成してください。
ここまでお読みいただきありがとうございました。
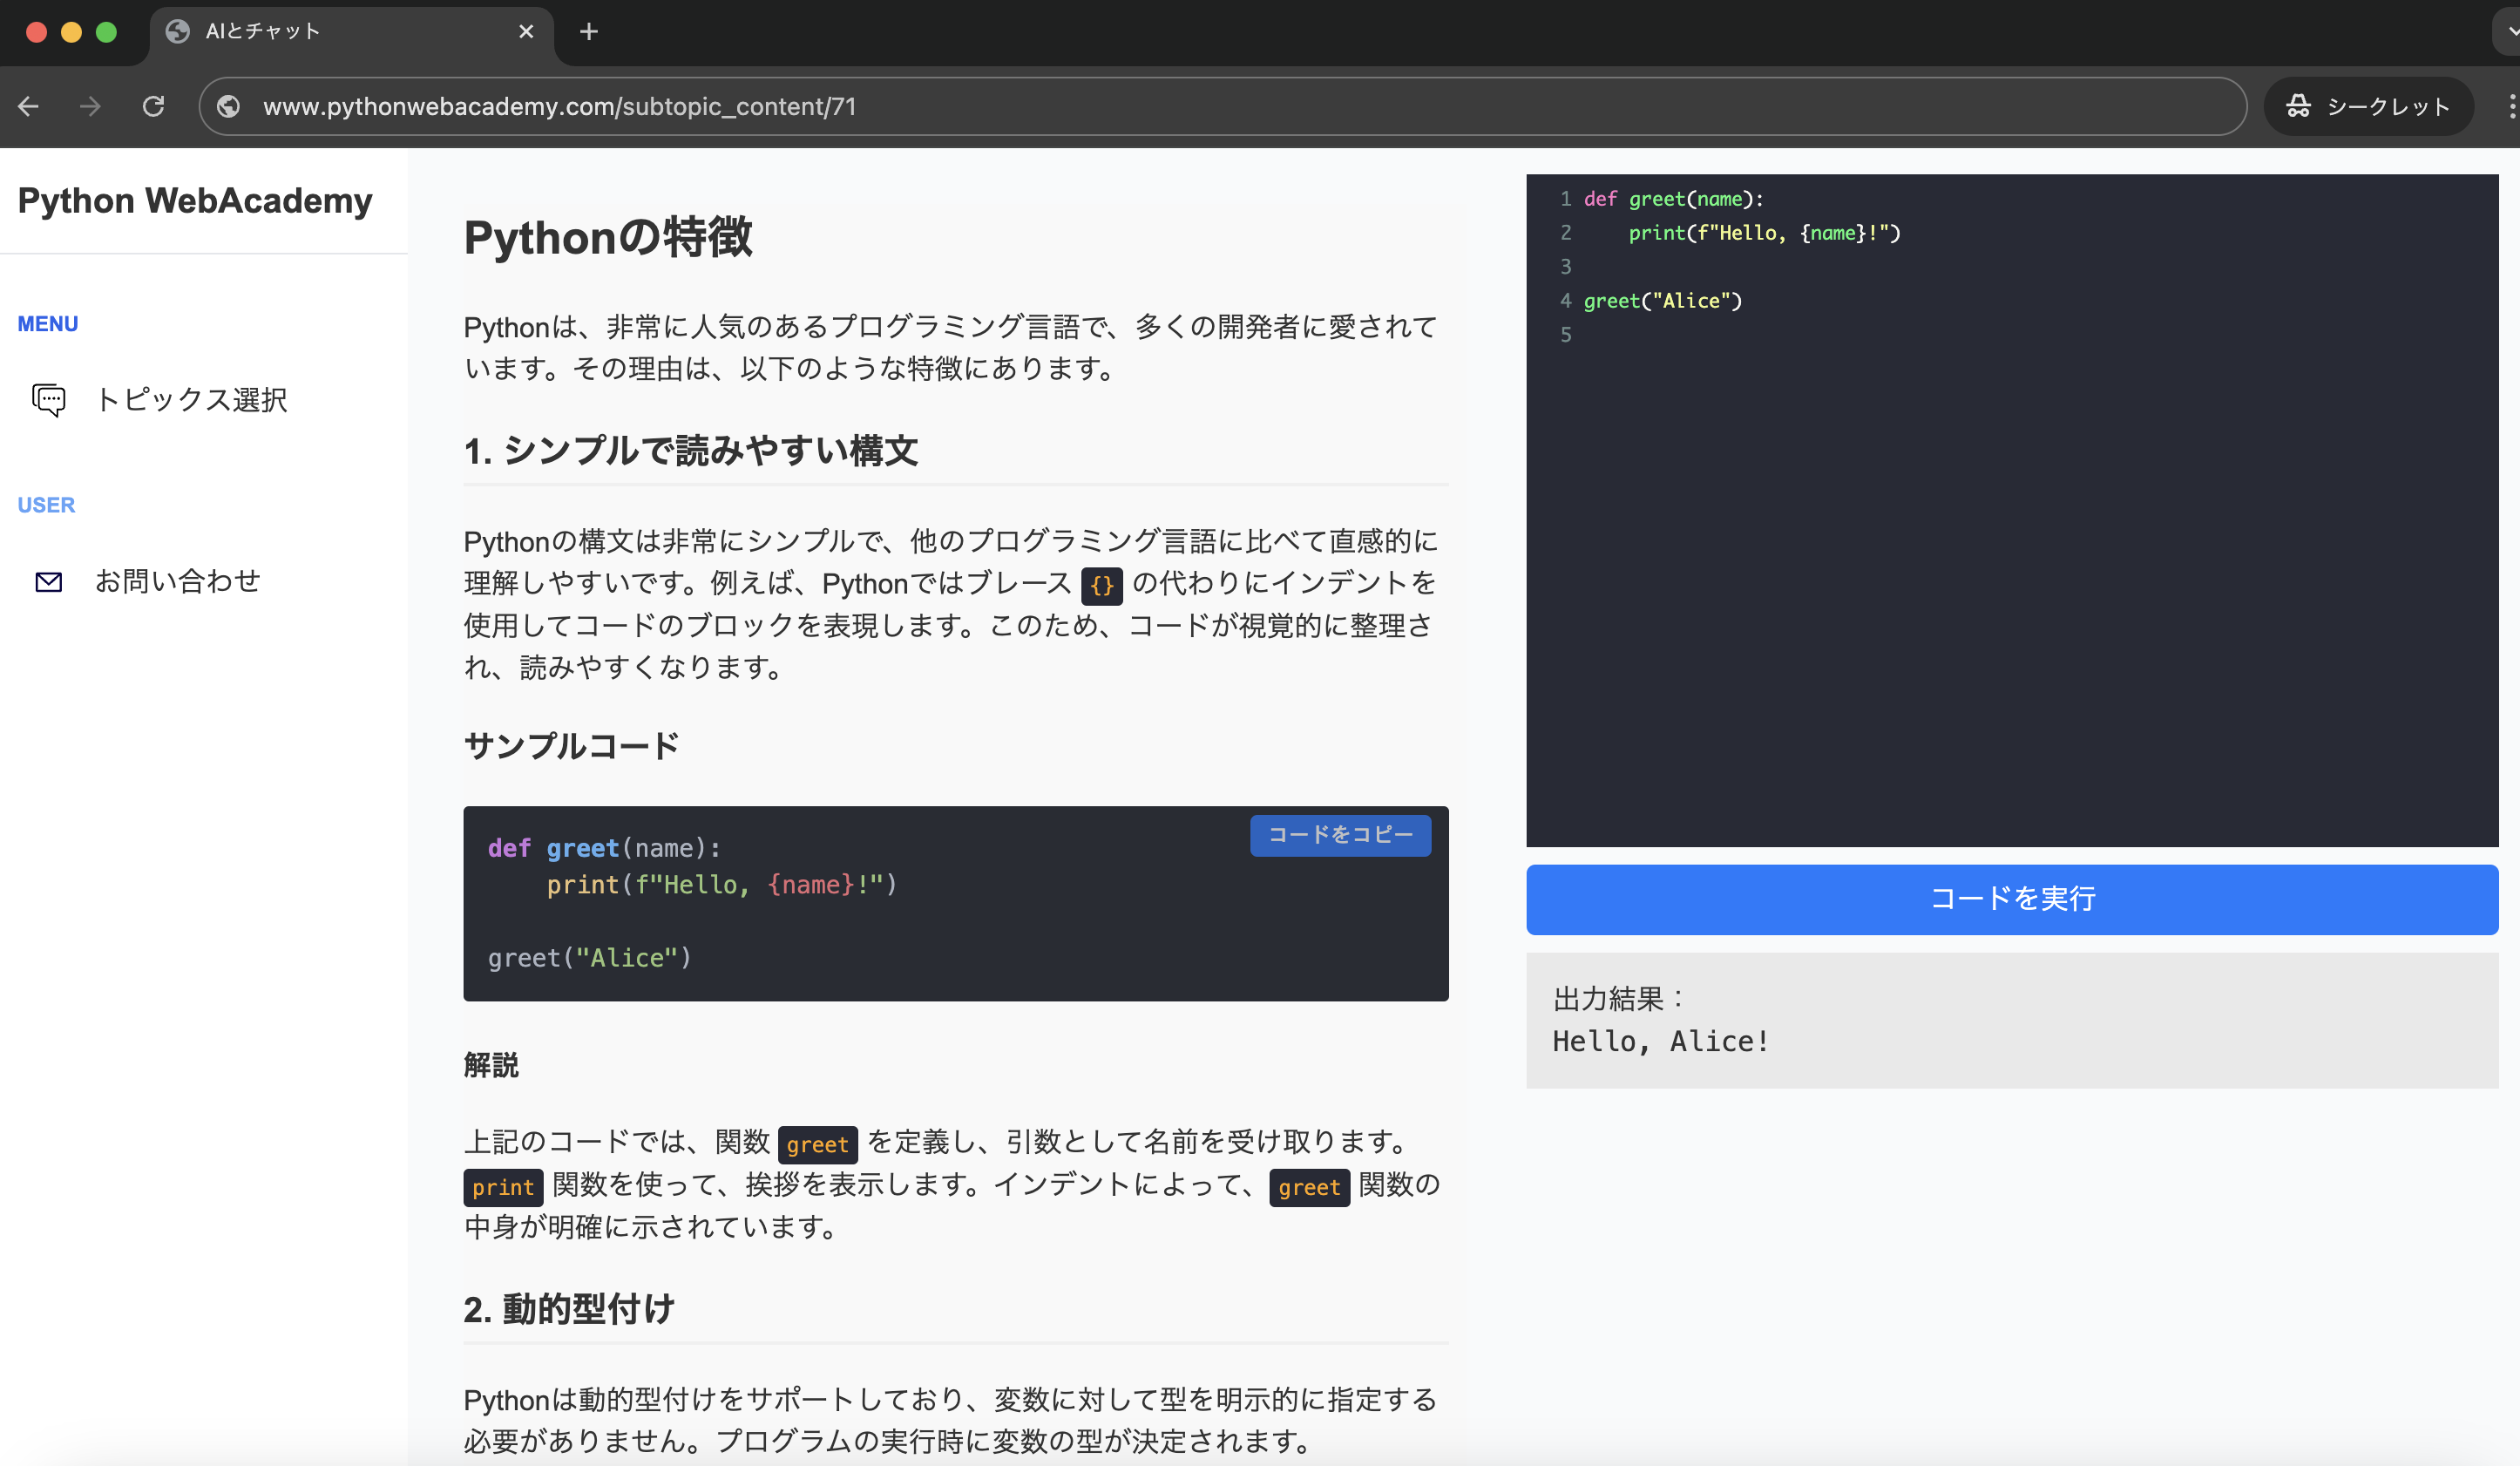
Pythonの基礎から応用まで学べる
Python WebAcademy
Python WebAcademyでは、Pythonの基礎からアーキテクチャなどの応用的な内容まで幅広く学べます。また、ブラウザ上で直接Pythonコードを試すことができ、実践的なスキルを身につけることが可能です。
 Pythonの学習を始める


インフラの学習はInfraAcademy

おすすめの記事